How to Self-Host OpenSEO on Cloudflare
The complete guide, with the real problems I solved — including a silent bug on Google Search Console that looked like a token problem and wasn’t.
Published: August 31, 2026
Serious SEO tools cost a lot. Semrush and Ahrefs start around a hundred dollars a month and climb fast once you actually need rank tracking, keyword research, and technical audits together. If you're a freelancer just starting out, that fixed monthly bill, before you've even invoiced a client, is often the reason you skip content tracking or do keyword research by gut feeling.
Setting up OpenSEO on Cloudflare wasn't straightforward. Some sections of the official documentation assume things that, if you've never run a Cloudflare deploy or a Google OAuth flow before, aren't obvious at all: I got stuck more than once on steps that two extra lines of explanation would have solved in five minutes instead of hours. I'm writing this guide mainly for people picking up tools like this for the first time. If you're already comfortable with Workers and OAuth, skip ahead to whatever section you need.
What is OpenSEO
OpenSEO is an open source SEO tool (code on GitHub), built as an alternative to Semrush and Ahrefs. The main difference is the cost model: no fixed monthly subscription, you only pay for the data you actually use through your own DataForSEO API key.
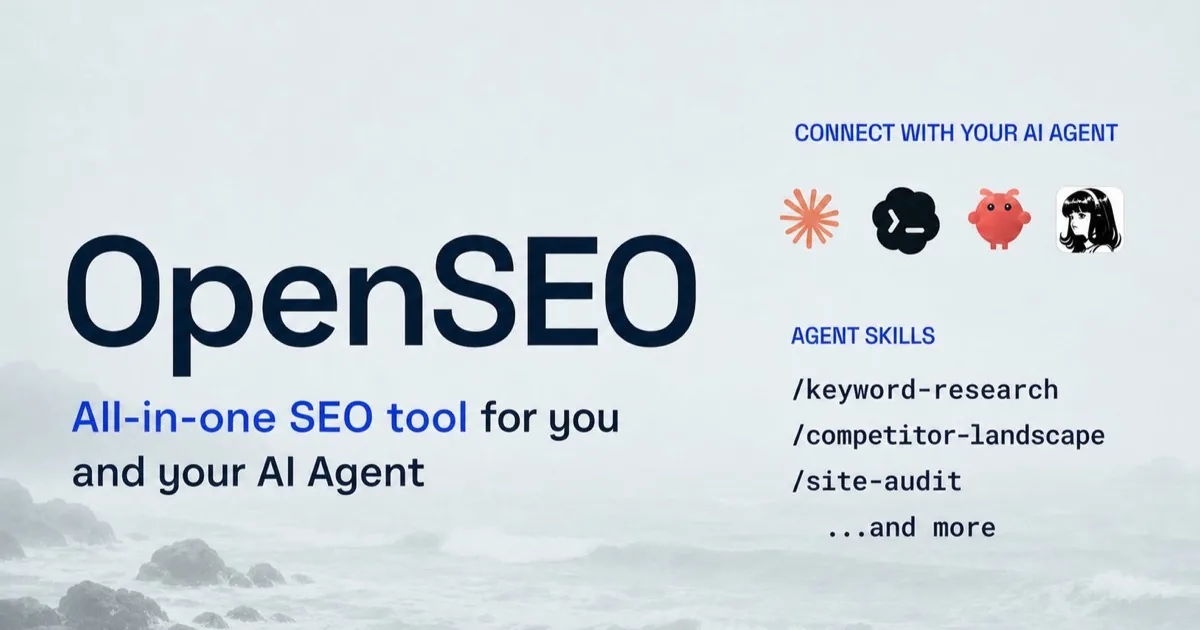
The core features:
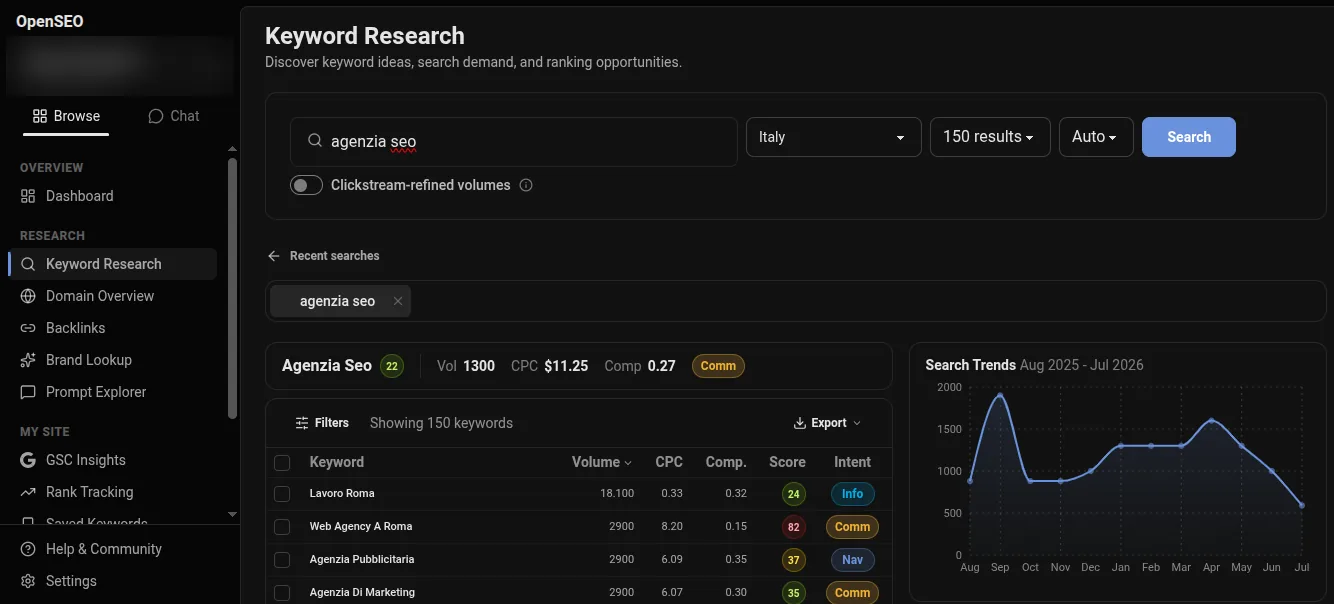
- Keyword research: find the right keywords for a topic, with search volume and difficulty.
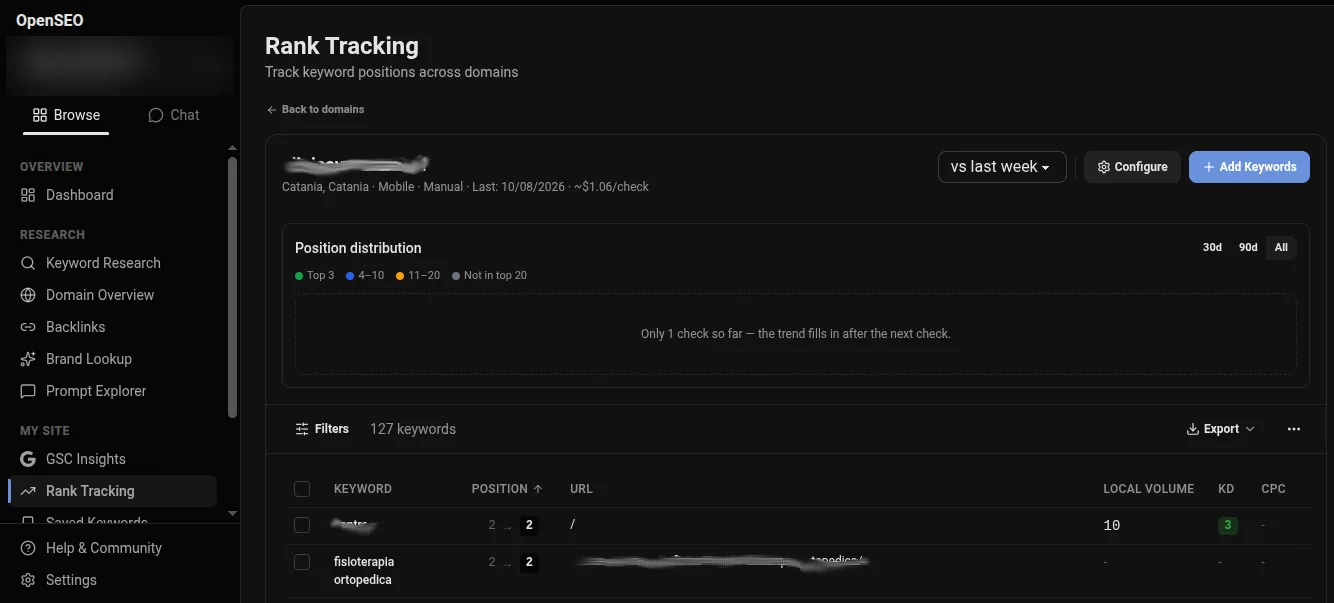
- Rank tracking: monitor your pages' Google positions over time.
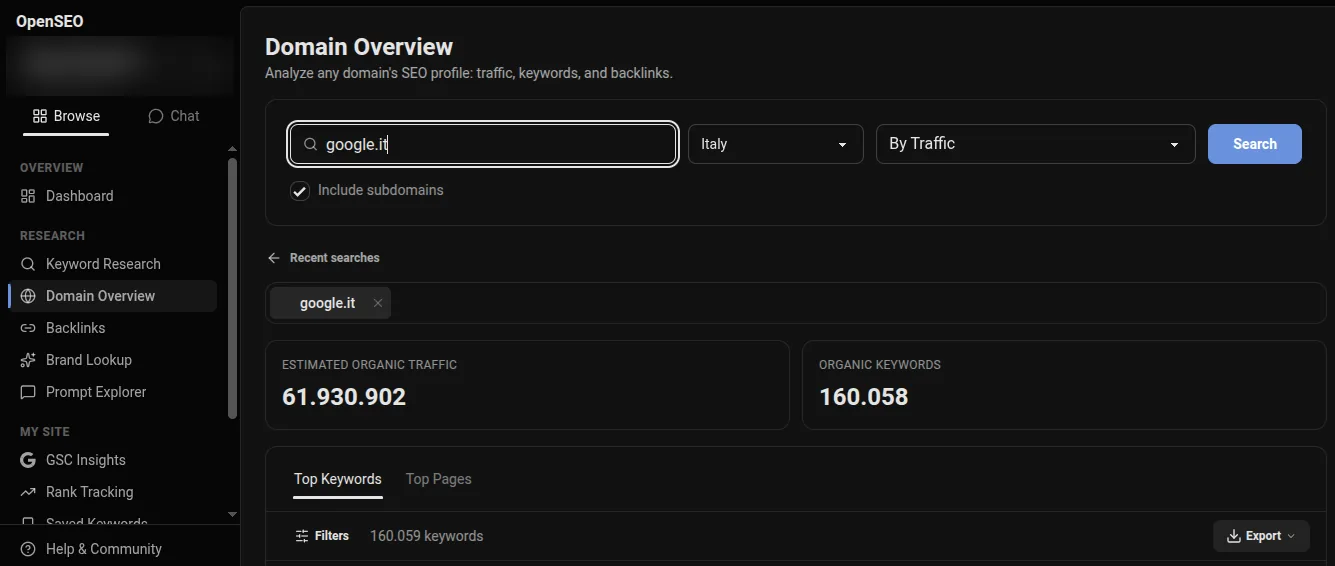
- Competitor Insights: see what your competitors are doing, which keywords drive their traffic, where they're stronger than you.
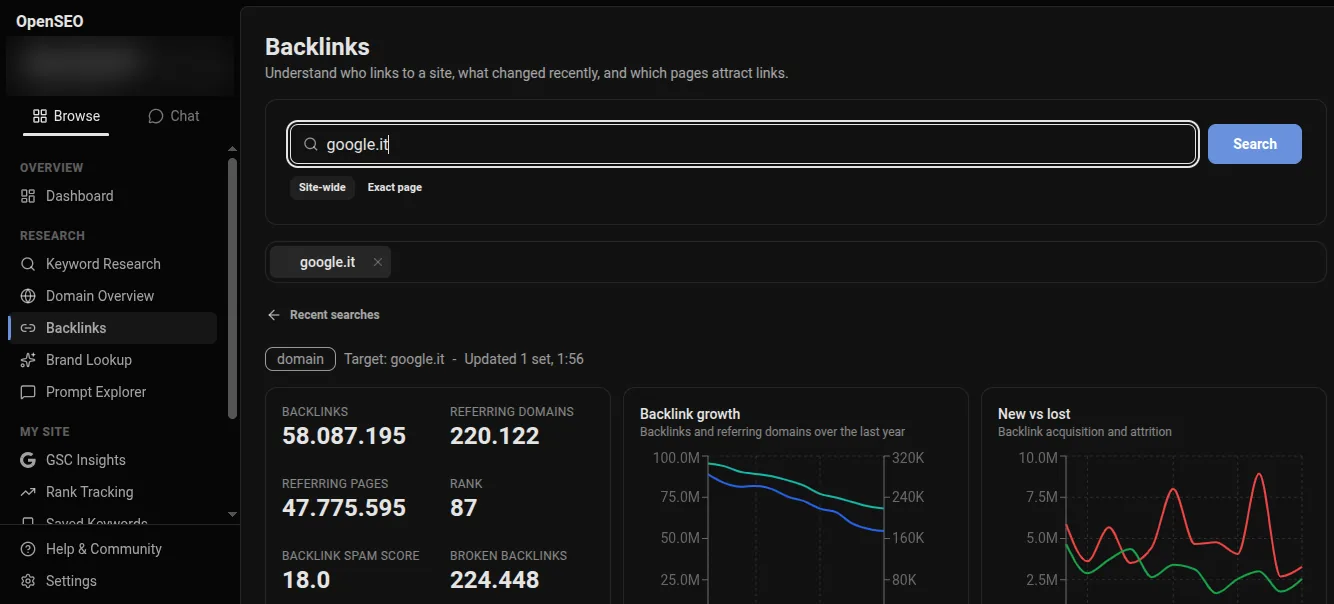
- Backlinks: analyze who links to a site and the quality of those links.
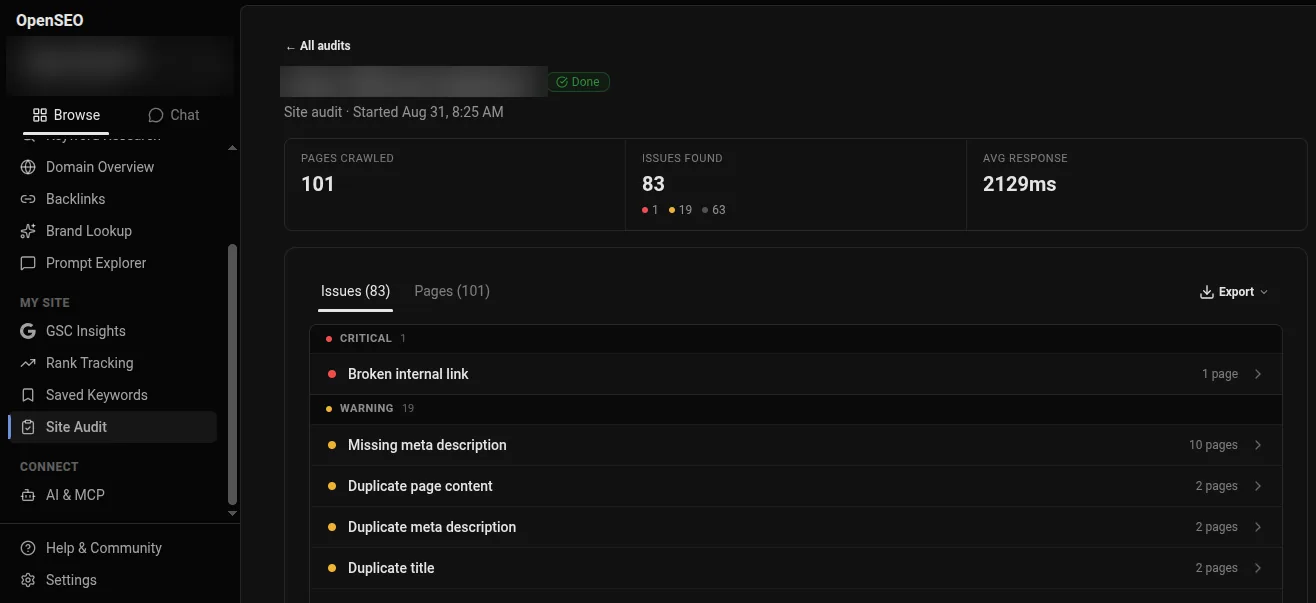
- Site Audits: scan a site for technical SEO errors (broken links, missing meta tags, indexing issues).
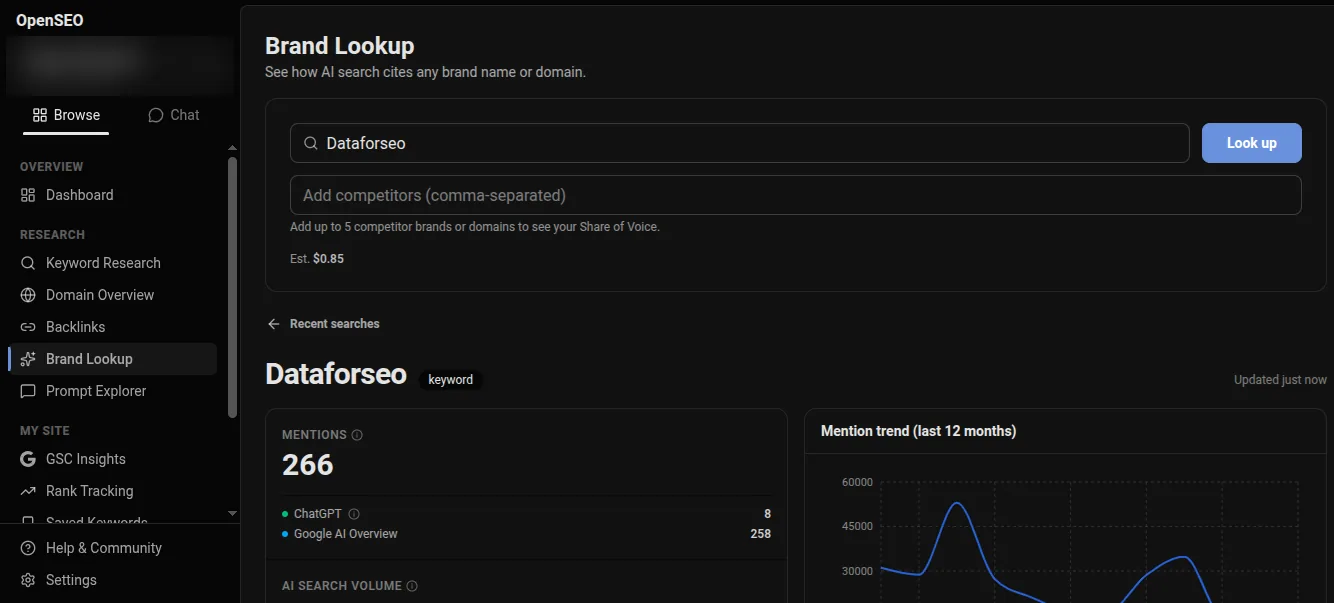
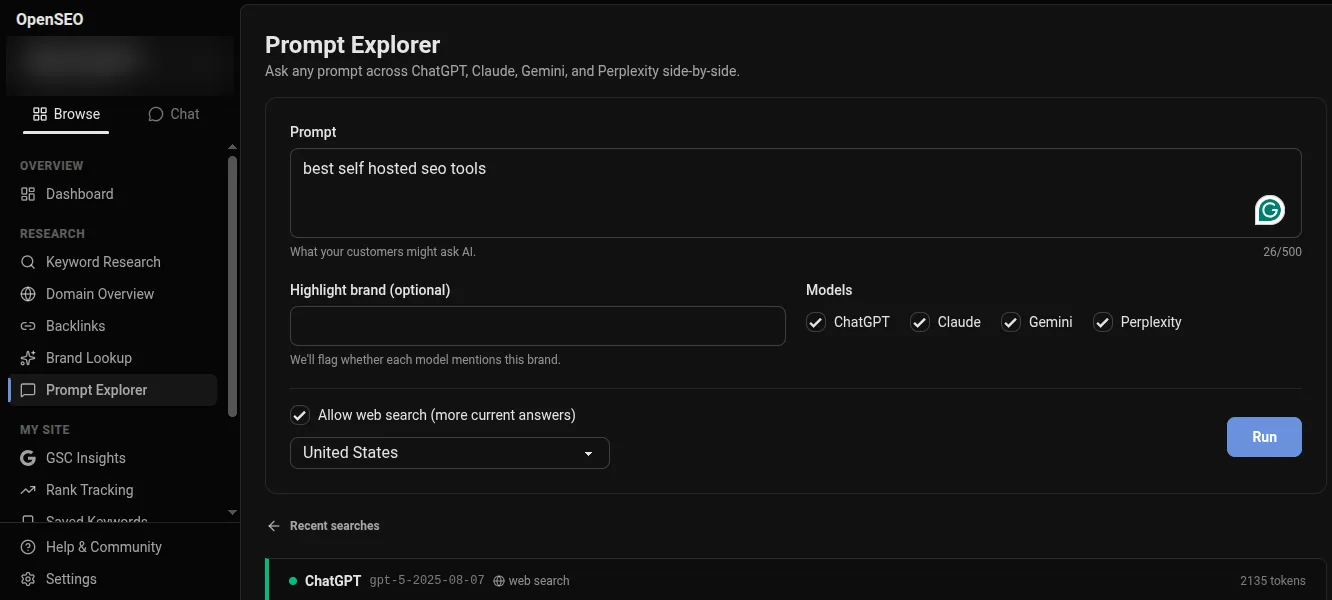
- AI Visibility: check how and how often a site gets cited by AI search engines and language models, not just Google.
The project is also built to work alongside AI agents: it exposes an MCP server (the protocol that lets an assistant like Claude use your data and functions directly, without going through the web interface) and ready-made skills, guided procedures the agent follows to complete an SEO task.
There's a less obvious advantage to relying on DataForSEO as the data source, too. Google has started routing search result links through google.com/goto redirects, which obscure the real URL in the SERP specifically to make it harder for scrapers and third-party tools to read it, a move that seems aimed in particular at services like SerpApi. DataForSEO has already found a way around this redirect, so OpenSEO's rank tracking and SERP analysis keep returning real URLs instead of opaque links. There's no guarantee this holds if Google tightens things further, but for now it's a point in favor of relying on DataForSEO instead of other SERP data providers.
There's also a hosted version at $10/month if you don't want to manage anything yourself, at openseo.so. This guide covers the other route: taking the code and running it on your own infrastructure.
A quick look at the dashboard
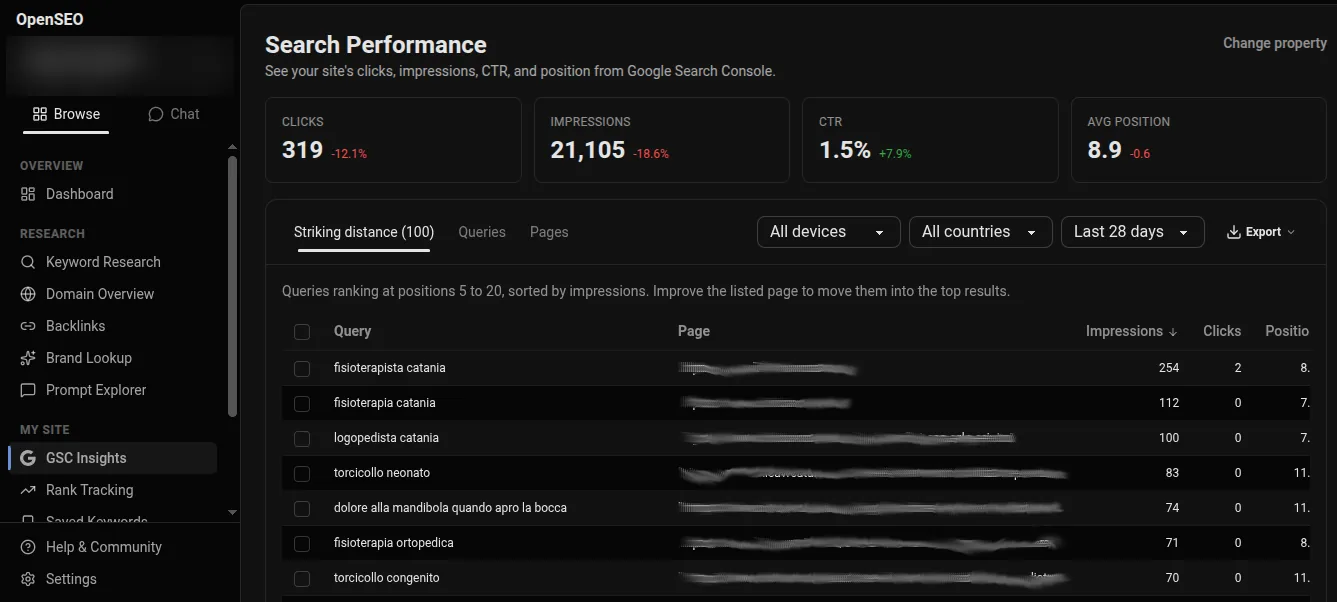
Before getting into setup, here's what each of the features listed above actually looks like, taken from my self-hosted instance (client project name/domain blurred for privacy).
How to download OpenSEO
The code lives on GitHub, in the every-app/open-seo repository. You'll clone it in step 1 below. If you plan to update it often or customize it, start from your own fork on GitHub and clone that instead, so you have a repository you control.
Either way, you'll need a DataForSEO API key, the service that provides the actual SEO data (search volumes, SERPs, backlinks). OpenSEO is the interface and the logic on top of that data, not the data source itself. This guide assumes you already have one: if you don't, the project's official guide covers it in two minutes.
Two ways to self-host
Self-hosting means running the software on your own infrastructure instead of paying for a subscription service. OpenSEO supports two paths, both documented in the repo:
- Docker, locally. Runs on your computer, no internet exposure, authentication disabled by design (
AUTH_MODE=local_noauth). The simplest starting point if you just want to try it out or use it from a single device. - Cloudflare Workers, on the internet. A Worker is simply an application that runs on Cloudflare's servers instead of your computer: it stays reachable from any device, protected by Cloudflare Access (the login system that decides who gets in).
I use the Cloudflare route, because I want OpenSEO available from my phone, my laptop, wherever I am, not just on the computer where I installed it. It's also, worth saying upfront, the more complicated of the two: it means managing a service exposed to the internet, so authentication, secrets, and a Google Search Console OAuth flow that has more than one way to fail silently. If you just want to get started without thinking about any of that, go with Docker.
The rest of this guide covers the Cloudflare route, step by step, including every point where I got stuck.
Prerequisites
- Node 22.6 or newer and pnpm (
corepack enablesets it up). - A Cloudflare account with R2 enabled. Activating R2 requires a payment method on file, even within its free tier: if you've never used R2, open the R2 section in the Cloudflare dashboard once before proceeding.
- A DataForSEO account for the API key.
1. How to clone the repository
git clone https://github.com/every-app/open-seo.git
cd open-seo
corepack enable
pnpm install
If you made a fork to control it yourself, clone that instead of the upstream repo.
2. How to log in to Cloudflare
pnpm alchemy login                # answer yes to "Customize OAuth scopes?" and enable access:write
pnpm alchemy cloudflare bootstrap # deploys alchemy's state-store Worker to your account
OpenSEO uses Alchemy for deployment: a tool that, with a single command, creates ("provisions") all the Cloudflare resources you need (database, storage, Worker, login) for you, instead of configuring each one by hand from the dashboard.
During login, Cloudflare asks which permissions ("scopes") to grant Alchemy on your account: access:write is the one it needs to create the Cloudflare Access application on its own later. If you've already logged in before without that scope, a plain repeat login won't ask for it again. Use pnpm alchemy login --configure to force it.
3. How to configure .env.selfhost
cp .env.selfhost.example .env.selfhostOpen the file and set at least these two required variables:
- DATAFORSEO_API_KEY: not the raw key you see in the DataForSEO dashboard, but your email:password credentials base64-encoded. On app.dataforseo.com/api-access, click "Send by email" and use the value labeled "Base64" you receive, not the plaintext one.
- ACCESS_ALLOWED_EMAILS: the emails allowed to log in, comma-separated. This is the list of who gets into your OpenSEO.
4. How to deploy
pnpm deploy:selfhost --yesThis one command does everything: creates the D1 database, the KV namespaces, the R2 bucket, applies the migrations, deploys the Worker, and creates the Cloudflare Access application protecting it, limited exactly to ACCESS_ALLOWED_EMAILS. If your account has no Zero Trust team yet, one gets created.
If you'd rather manage the Access application yourself instead of having it created automatically, set TEAM_DOMAIN and POLICY_AUD in .env.selfhost before deploying: in that case the command doesn't touch Access resources.
5. How to verify everything works
- Open the Worker URL printed at the end of the deploy.
- Sign in with Cloudflare Access.
- OpenSEO should load after login.
If something's off, https://<your-worker>/api/health reports configuration and database status, and pnpm exec wrangler tail shows live logs.
6. How to connect Google Search Console
Before the steps, it's worth understanding how Google Search Console works behind the scenes: OpenSEO doesn't "hold" your data, it reads it live from your Google account through an OAuth authorization you grant once. The full flow is documented step by step in the official Search Console guide. Here I'll flag the step that, if you skip it, gives you no error right away but costs you time later.
Creating the OAuth credentials
- On console.cloud.google.com, create or reuse a project.
- Enable the Google Search Console API for that project (APIs & Services → Library, search "Google Search Console API", click Enable). This is the first step in the official guide, and the one that's easiest to treat as a formality and skip mentally. It isn't: creating the OAuth credentials and enabling the API are two separate settings in the same Google Cloud project.
- Configure the OAuth consent screen (External, and if you stay in Testing mode, add your account as a test user).
- Create a web application OAuth client ID, with redirect URI:
https://<your-worker>.workers.dev/api/gsc/oauth/callback - Save the Client ID and Client secret.
Configuring the deploy
In .env.selfhost, uncomment and set:
GOOGLE_CLIENT_ID=
GOOGLE_CLIENT_SECRET=
BETTER_AUTH_SECRET=
BETTER_AUTH_SECRET is a random string of at least 32 characters, generated with openssl rand -base64 32: it's only needed for Search Console, to encrypt the stored tokens. Rerun pnpm deploy:selfhost --yes to apply the new secrets, then go to Integrations and connect the account.
What happens if you skip step 2
This is where I lost the most time, and it's worth telling because the symptom has nothing to do with the cause.
If the OAuth credentials are correct but the API isn't enabled, the Google login still works: consent completes, the redirect is correct, a token gets saved in the database with a one-hour expiry, refresh token included. Everything looks like it succeeded. Then you open Integrations and still see "Connection expired. Reconnect to continue.", even right after reconnecting.
OAuth consent (login, permissions, tokens) is a Google service separate from the individual API. Only when OpenSEO tries to read the real data (sites.list), does Google respond with a 403, because the API isn't active on the project. The code treats that 403 as "grant expired or revoked" and shows the reconnect message, which is technically correct but sends you looking in the wrong place: it looks like a token problem, it's a Google Cloud project configuration problem.
Fix: console.cloud.google.com → APIs & Services → Library → Google Search Console API → Enable. Then retry the reconnect, no need to regenerate any credentials.
7. How to connect MCP tools (optional)
OpenSEO exposes its tools via MCP at /mcp, so you can use them directly from Claude, Claude Code, or other MCP clients. For it to work, the Cloudflare Access application protecting the Worker needs Managed OAuth turned on. It isn't by default, even if you had it auto-created by the deploy.
- Zero Trust (one.dash.cloudflare.com) → Access controls → Applications.
- Open the app protecting your Worker, Edit.
- Additional settings → OAuth, turn on Managed OAuth.
- In the allowed redirect URIs, add the ones your clients use: for CLI and desktop clients like Claude Code, the local clients that register
http://localhost:PORT/callback; for claude.ai, the callback URL its connector setup page shows you. - Save.
Then, from Claude Code:
claude mcp add --transport http --scope user openseo https://<your-worker>.workers.dev/mcpSkip the Managed OAuth step and the client gets a generic OAuth registration error and can't complete the connection.
Ongoing maintenance
How to update OpenSEO
git pull        # or, if you forked: git fetch upstream && git merge upstream/main
pnpm install
pnpm deploy:selfhost --yes
Your Cloudflare resources stay identified by .env.selfhost, not by values inside the repo, so a plain git pull followed by a redeploy is enough. No manual config file backups needed.
How to give teammates access
Add the email to ACCESS_ALLOWED_EMAILS inside .env.selfhost and rerun pnpm deploy:selfhost --yes. If you edit the Access policy directly from the dashboard instead, the next deploy overwrites it: .env.selfhost stays the single source of truth.
How to tear everything down
pnpm alchemy destroy --env-file .env.selfhost --stage selfhostDeletes the Worker, the D1 database, the KV namespaces, the R2 bucket, and the Access application, data included. There's no undo after this, so only use it if you genuinely want to start over or abandon the project.
How to diagnose a problem without changing anything
A couple of commands that helped me understand what was actually happening, without touching code or configuration:
# Live Worker logs, including requests that don't throw exceptions
pnpm exec wrangler tail

# Read one row from the production database, read-only
pnpm exec wrangler d1 execute <your-db-name> --remote --command "SELECT * FROM account WHERE provider_id = 'google-search-console';"
The first tells you whether a request actually reaches the Worker and whether it throws an exception. The second shows you the real state of the stored data, instead of guessing from how the UI behaves.
How Claude Code can help you set this up
I diagnosed the whole Search Console section above, including the hidden 403 bug, together with Claude Code, inside the OpenSEO repository cloned locally. If you've never used an AI agent to configure something like this, it's worth trying: unlike following a guide on your own, you can have it read the project's actual code instead of stopping at what the documentation says, and have it run diagnostic commands for you.
A concrete starting point, inside the cloned repo folder:
npx skills add every-app/open-seo --skill '*' --agent claude-codeThis installs the project's official skills (including setup and diagnostic ones) as commands available in Claude Code. Then you can just ask, in plain language, things like:
- "Help me configure .env.selfhost for the Cloudflare deploy."
- "I'm getting this error during deploy, what does it mean?"
- "GSC says 'Connection expired' even after reconnecting, help me figure out why."
For diagnostics, the pattern that worked for me was: have it read the source code at the point that's breaking (not just the documentation, which can drift from the actual code), check the real state with read-only commands like wrangler tail or wrangler d1 execute --remote, and only then propose a change. If you're following this guide and something doesn't add up, ask the agent to verify step by step before changing configuration at random: the real cause is often two or three steps back from where the symptom shows up.
Self-hosting FAQ
Do I need to enable the Google Search Console API?
Yes, always, regardless of how you configure the OAuth credentials. It’s step 2 in the Search Console section, and it’s the most common cause of connections that look successful but end up stuck on "Connection expired."
Is Cloudflare Access required?
Yes, if you choose the Cloudflare route. The deploy creates it automatically and limits access to the emails in ACCESS_ALLOWED_EMAILS.
Can I skip all this complexity?
Yes: use Docker locally. You lose the ability to access it from any device, but you skip authentication, secrets, and OAuth almost entirely.
Where can I find more resources?
The official site is openseo.so, and the code and full documentation live in the every-app/open-seo repository on GitHub.
Need a hand with SEO or technical setup?
A free audit to work out where to start, no commitment.